I love journals and planners. I buy them and sometimes I’ll make them for my audience.
A couple of weeks ago Jenn Brockman from Planning Addicts contacted me to let me know she was going to start an inexpensive monthly membership for done-for-you journal templates. The first month you get two planners and when I saw that one of them was Halloween I was excited.
I knew I was going to do something with it but I honestly had no idea what.
So when the doors opened I purchased the monthly membership for $5 – HERE.
Then I downloaded the Halloween Powerpoint templates.
Note: This is monthly membership and so you might get something different based on what month you join. You can use the same steps that I did below to use the journal templates that you’ll get.
This is what it looked like:

What I like about the journal templates that she’s doing is the fact that there aren’t a lot of them. This gives me a chance to use my own creativity to create something.
Journal Templates and Fun Graphics Go A Long Way!
I honestly had no idea what I wanted.
Below you’ll find the steps that I did in order to take the template and make a fun monthly planner that is Halloween themed or join my group and watch the video HERE.
Here’s what I did:
Step 1 – Take out graphics that don’t fit your goal
I took out all the graphics that I knew I wasn’t going to need or want in my planner. Before I did this I had to think about a few things:
- Who is this going to be for?
- What vibe did I want them to get with my planner?
- What am I going to use this planner for?
This planner is going to be an opt-in for my site at AprilLemarr.com. My goal is to get more subscribers and in order to do that, I need some fun ways to grab attention.
I knew that I wanted a fun planner that will make people smile when they use. That means cute sayings and cuter graphics!
Step 2 – Get some design ideas
I knew I wanted my planner to be fun but I wasn’t sure exactly how I wanted it to look.
I went to Design Bundles and searched for Halloween. I opened graphic bundles that I thought I’d want – then I’d check out what was inside. There was a few that I wanted but I also didn’t want to spend a ton of money and so I found graphic bundles that were cute, didn’t have tons of graphics and were cheap.
I spent a little over $7 for the graphics that I picked. I decided to go with one Halloween bundle that had fun sayings, a fall bundle that also had fun sayings and then a small graphic pack that had ghosts, pumpkins and witches.
Step 3 – Changed the font
I went through and I changed the font from what Jenn had to a couple of fonts that I bought last year. I don’t remember where I got them but they are called Cookies and Gingerbread.
I want my planner to be completely different than what I purchased.
Step 4 – Start digging into the planner and rearranging things
The next step took the longest. I went into the planner and started adding graphics and rearranging the look of the planner by moving pieces around.
This is hard to explain how to do. I would move a table from the top to the bottom or I’d take out a background that she had.
I kept messing with the graphics until I thought it looked good and then I’d move on to the next page.
Step 4 – Duplicating my pages
After making the pages exactly how I wanted them to look I then decided I was going to create an October monthly planner and that it would need five weeks worth of pages.
That means I duplicated each of the pages and moved them in the Powerpoint document in the order that I wanted.
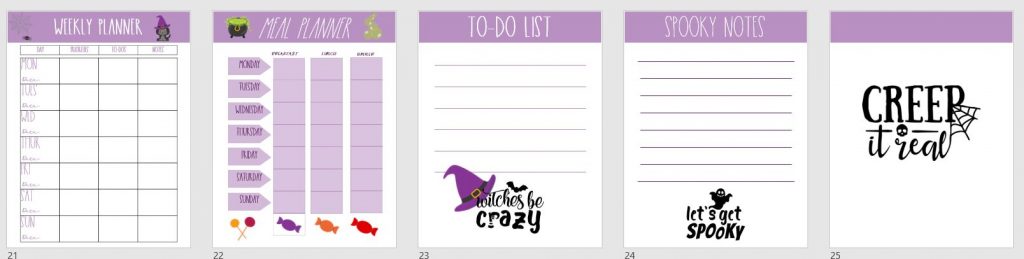
Here is what it looks like after a couple of hours worth of work and a $12+ investment:

That’s a little hard to see, so here is a closer look at a few of the pages:
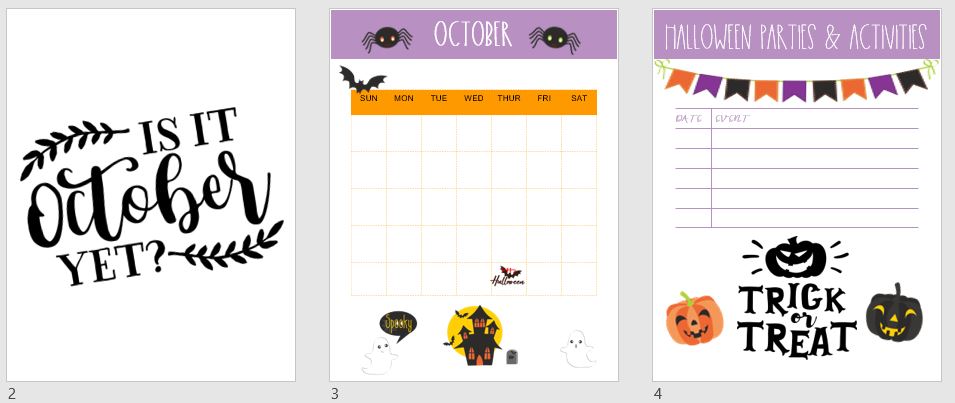
And the beginning of the monthly planner:
Step 5 – Add an eCover
I’m still working on an eCover for this planner, but once it is done I’ll be able to set it up on my site and start letting everyone know to go grab it for free.
I enjoyed working on this monthly planner.
You can grab the Planner Monthly Club for only $5 right now.
If you buy it and do something different, please share below.
~April Lemarr
P.S. The Planner Monthly Club is a great way to create opt-ins or a product to put on Etsy.
Wanna share? Here is a PIN for you: